Tuesday, January 31, 2012

We need more "before" photos

And here we are. I took these last spring. I clearly didn't clean up and de-clutter, which is exactly how to make the "after" photos look even better. If only I'd thought to dimly light them and somehow make the cabinets look fat and dumpy, with bags under their eyes.

Let's start back in the pantry:
kitchen, the before shots
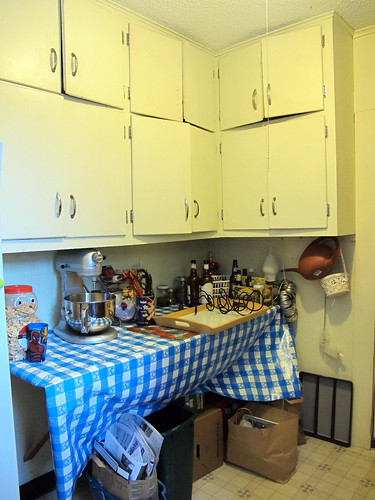
The cabinets all have mismatched hardware, doors that either don't close or get stuck, and too-short shelves inside. There's a counter that I had covered with oilcloth to hide the partially peeled-off vinyl tiles. It was largely a dumping ground, as clearly illustrated above.

And two more views of the pantry:
kitchen, the before shotskitchen, the before shots
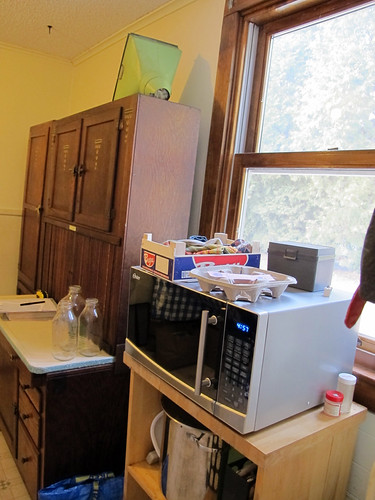
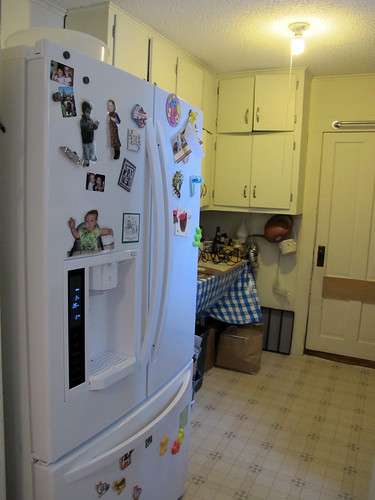
The fridge is back here because it doesn't fit anywhere else. It's not the most convenient location. The Hoosier Cabinet, which we bought a year ago, is hiding back here with no proper place to display its awesomeness.

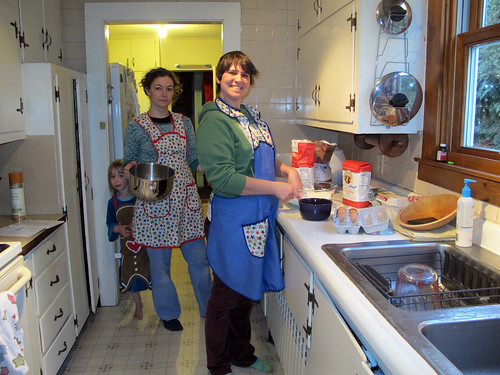
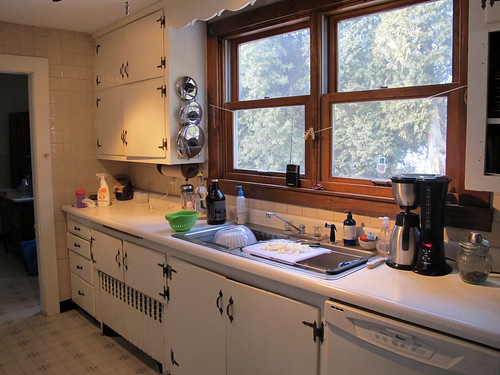
Take a few steps back from the pantry, and you're in the main galley part of the kitchen, or as I like to call it, the main thoroughfare for racing kids. (This channel through the kitchen does form part of a big loop in the house, which is fun for kids but not so much for the cooks.)
kitchen, the before shotskitchen, the before shots
The stove is fine and functional, with a vent that sounds like a jet engine (but does have a cool copper hood). The big problem here is that the peninsula of the stove and cabinetry cuts off the flow (and light) of the kitchen, which you can see illustrated a bit more clearly here:

kitchen, the before shots

And then there's that huge, ugly (well I think it's ugly. There isn't consensus on that) wood stove there with the garden gate built around it. That's not going anywhere for a while, but its footprint and intense heat output were major considerations when we began to rethink the space.

I will follow up with a "before" floor plan.

Monday, January 30, 2012

Overhauling the kitchen

When we bought our house in 2009, we knew that we'd remodel the kitchen at some point. Our hopes were that it would be soon, but our expectations were low. But all of a sudden, this fall, the time (and money) presented itself, and we dove in.

I started out by ramping up my looking-at-blogs-and-photos-of-kitchens-I-like habit. For a while, I'd been slowly amassing ideas and bookmark lists of images of nice kitchens. I knew I wanted a kitchen that reflected our house's' 19th century New England roots but balanced that aesthetic with practicality and convenience--to make a highly functional kitchen with an authentic, antique look.

At some point, I latched onto the idea of the unfitted kitchen (sometimes called a free-standing kitchen), which is a more 19th century way of furnishing a kitchen. Basically, it's an eclectic style that relies more (or entirely) on free-standing kitchen furniture in lieu of built-in cabinetry. Its historical look appealed to me, but so did the idea of creating a kitchen that could potentially be reorganized at a later date without leaving holes in the walls and floors. It also occurred to me that an unfitted kitchen can be built over time--it doesn't have to be an all-at-once kind of project.

It's now a couple months later, and we're up to our knees (chest? neck?) in this redesign project. Stay tuned for more about this process. In the mean time, here is an image of our starting point, a 1950's era kitchen with a crowded layout:

xmas eve, preparations