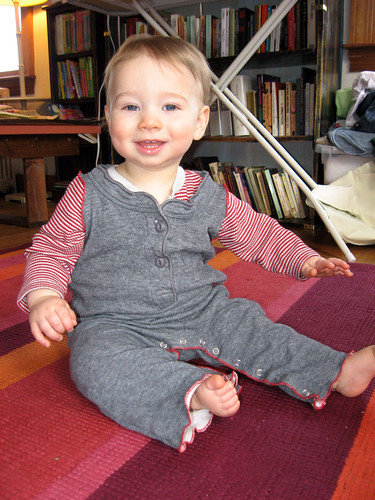
So I got a snap press this week. It's very exciting. For me. Maybe not for you. But now I can make baby clothes with all those crotch/leg snaps without having to deal with snap tape or--even worse--a hammer and that cheap plastic clamp thing Dritz makes that I hate.
Anyway, this snap press is great for converting velco diapers to snap diapers (and since we have a bunch of diapers with useless, wasted velco, that's a great thing.) But that's not the project I'm excited about right now.
I've been pulling out my old clothes that I no longer wear--the Hartstings truck is making a stop at our house next week. But in the case of some of my old clothes, I don't like the garment itself anymore, but I do still like the fabric. And this L.L.Bean shirt is a perfect example. I've had it since junior high or so, so it's super soft. It's wool jersey on the outside and soft cotton jersey on the inside. Sounds like some nice warm, soft baby overalls are in order!
So the shirt I started with is the L.L. Bean Two-Layer River Driver henley shirt. It doesn't look like they still make the exact same thing, but here's the crew neck version. (no I wasn't smart enough to take a picture of the shirt before I hacked it to bits.) The nice thing about the henley style is that, if you preserve the neck band, you've got the front buttons in place to make it easy to take off baby's head (then again, most adult neckbands are probably big enough to take over a baby's head.)
Anyway, I set out to make the overalls with the serger. And with one little exception, I didn't need the regular sewing machine at all. The plan was to use the roll hem on the armholes, inseam, and leg cuffs and the 4-thread overlock on the seams. It wound up being a pretty easy project--one I could probably have finished during Jasper's nap if a) I hadn't been figuring it out as I went and b) he'd taken a decent nap today.
So this is not exactly a tutorial--I won't go into that much detail--but more like loose instructions that someone who's pretty adept at using the serger could probably use to figure it out. Or it's just a really vague tutorial.
First, I cut all the pieces out.

I cut out the body, keeping the bottom hem in place as well as the neck line. I used another romper as a guide to where the crotch and armholes should be. Note that he's about a size 18 months and the length of the shirt worked well. Smaller sizes would need the bottom cut too; larger would need something sewn on the bottom. (More on that later.) I also cut out the crotch extension piece and a facing for the back snap opening. I cut off the cuffs too, though I wasn't sure if I'd use them. (For taller babies, this is an easy way to add some length.)
First, I sewed the crotch onto the back of the overalls. (I first basted with the sewing machine because I needed to ease the pieces together and I wasn't too confident that I'd do that well with the serger. A more experienced serger could skip that step.)
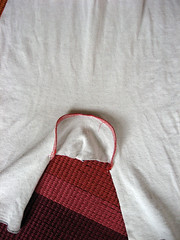
Then I serged the snap facing to the legs and crotch.

Next I roll hemmed the arm holes, the edges of the inseam and snap facing, and, since I was using contrasting thread, the bottom of the legs too.

Then I serged the sides and put snaps all along the leg openings. Ta da!
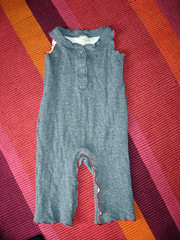
And found a model:
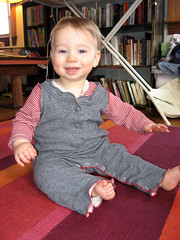
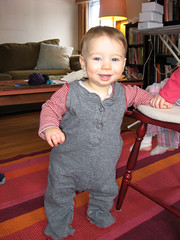
Beautiful! Until he started moving around in it. That's when it occured to me that adding the cuffs to the legs might come in handy. He's a crawler/cruiser, and tends to crawl out of the legs.
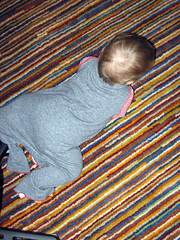

So I will add some cuffs tonight and add an epilogue to this post once I get some new pictures.
No comments:
Post a Comment