Tuesday, January 31, 2012

We need more "before" photos

And here we are. I took these last spring. I clearly didn't clean up and de-clutter, which is exactly how to make the "after" photos look even better. If only I'd thought to dimly light them and somehow make the cabinets look fat and dumpy, with bags under their eyes.

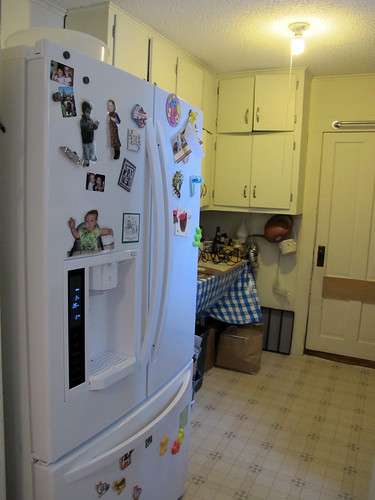
Let's start back in the pantry:
kitchen, the before shots
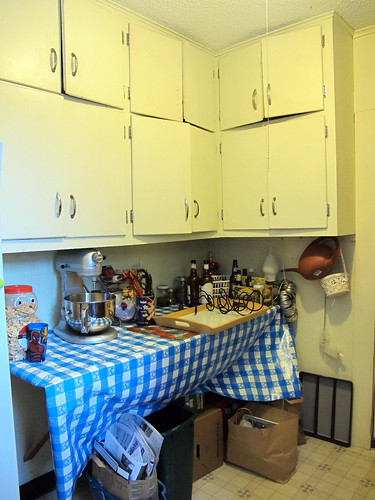
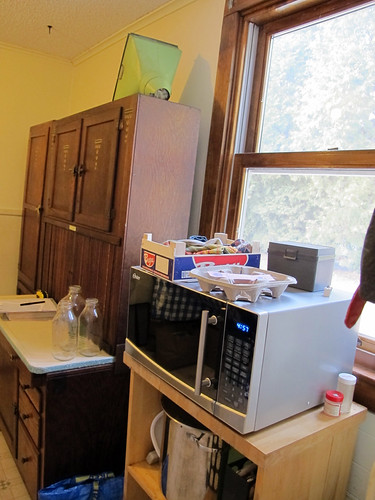
The cabinets all have mismatched hardware, doors that either don't close or get stuck, and too-short shelves inside. There's a counter that I had covered with oilcloth to hide the partially peeled-off vinyl tiles. It was largely a dumping ground, as clearly illustrated above.

And two more views of the pantry:
kitchen, the before shotskitchen, the before shots
The fridge is back here because it doesn't fit anywhere else. It's not the most convenient location. The Hoosier Cabinet, which we bought a year ago, is hiding back here with no proper place to display its awesomeness.

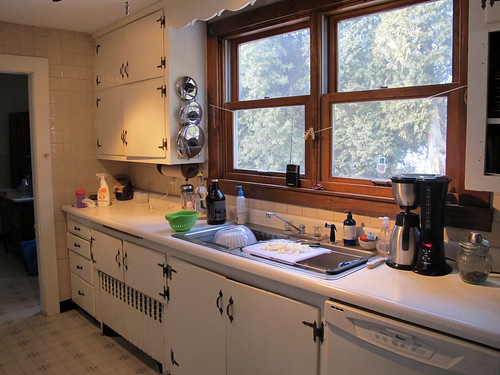
Take a few steps back from the pantry, and you're in the main galley part of the kitchen, or as I like to call it, the main thoroughfare for racing kids. (This channel through the kitchen does form part of a big loop in the house, which is fun for kids but not so much for the cooks.)
kitchen, the before shotskitchen, the before shots
The stove is fine and functional, with a vent that sounds like a jet engine (but does have a cool copper hood). The big problem here is that the peninsula of the stove and cabinetry cuts off the flow (and light) of the kitchen, which you can see illustrated a bit more clearly here:

kitchen, the before shots

And then there's that huge, ugly (well I think it's ugly. There isn't consensus on that) wood stove there with the garden gate built around it. That's not going anywhere for a while, but its footprint and intense heat output were major considerations when we began to rethink the space.

I will follow up with a "before" floor plan.
Monday, January 30, 2012

Overhauling the kitchen

When we bought our house in 2009, we knew that we'd remodel the kitchen at some point. Our hopes were that it would be soon, but our expectations were low. But all of a sudden, this fall, the time (and money) presented itself, and we dove in.

I started out by ramping up my looking-at-blogs-and-photos-of-kitchens-I-like habit. For a while, I'd been slowly amassing ideas and bookmark lists of images of nice kitchens. I knew I wanted a kitchen that reflected our house's' 19th century New England roots but balanced that aesthetic with practicality and convenience--to make a highly functional kitchen with an authentic, antique look.

At some point, I latched onto the idea of the unfitted kitchen (sometimes called a free-standing kitchen), which is a more 19th century way of furnishing a kitchen. Basically, it's an eclectic style that relies more (or entirely) on free-standing kitchen furniture in lieu of built-in cabinetry. Its historical look appealed to me, but so did the idea of creating a kitchen that could potentially be reorganized at a later date without leaving holes in the walls and floors. It also occurred to me that an unfitted kitchen can be built over time--it doesn't have to be an all-at-once kind of project.

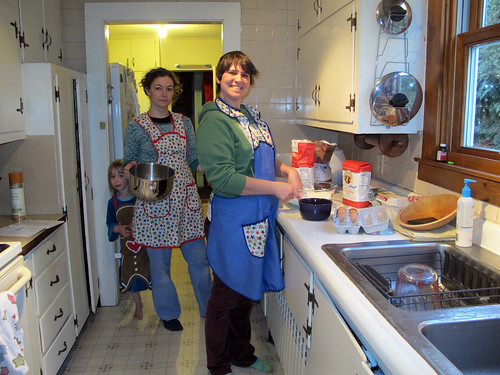
It's now a couple months later, and we're up to our knees (chest? neck?) in this redesign project. Stay tuned for more about this process. In the mean time, here is an image of our starting point, a 1950's era kitchen with a crowded layout:

xmas eve, preparations

Monday, May 9, 2011

Moon Man!

Moon Man! by liberrian
Moon Man!, a photo by liberrian on Flickr.

One of Jasper's favorite books is Tomi Ungerer's Moon Man. For his birthday I made him a Moon Man. Here is is! It took a little trial-and-error to get the shape right (or at least not laughable), but it was a success--Jasper immediately knew who it was and has slept with it every night ever since.

garden frolic

garden frolic by liberrian
garden frolic, a photo by liberrian on Flickr.

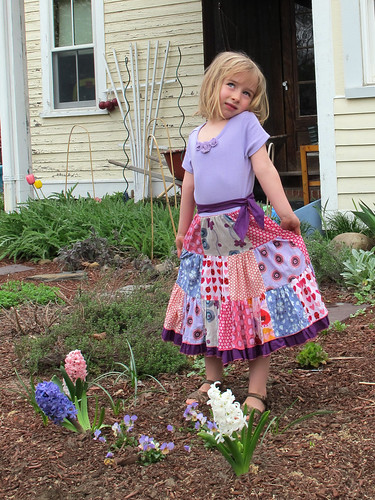
Alma got a new dress, right before Easter. The top is a Gymboree t-shirt, attached to a patchwork twirl skirt made of 6" squares cut from a lovely fabric bundle from Fabricworm. I've made a few dresses for Alma of this type over the years, originally based on a pattern from IndieTutes back in 2007.Link

Sunday, January 23, 2011

Fingerless Mittens

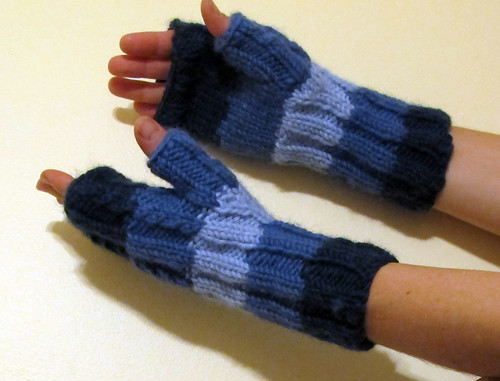
I done knit up a pair fingerless mittens, a gift for my husband Tom:
Tom's new fingerless mittens (but on my hands)Tom's new fingerless mittens (but on my hands)
(note: above model is not Tom. 'Tis me. He was sleeping during the photo session.)
I have a similar pair myself, and I like how they let me do a lot more than I can usually do with gloves on. And now that I have joined the ranks of the smartphoners, it's quite handy to be able to operate my phone while still keeping relatively warm.
The design is a meld of the mittens pattern in Ann Budd's The Knitter's Handy Book of Patterns, my fingerless mittens (store bought), and a little improvisation. They have some cables on the back of the hand, stockinette stitch under the fingers, and 2x2 ribbing around the wrist.
Plus they match the hat I made him before Christmas:
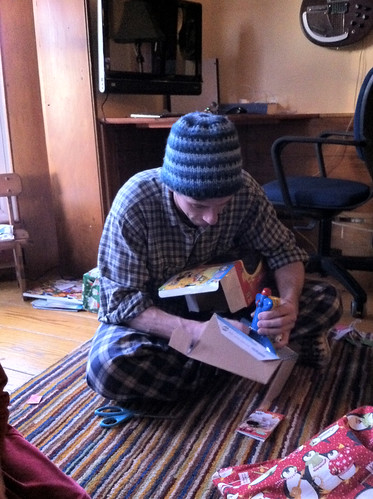
Christmas morning in Hadley

Tuesday, December 21, 2010

Advent Calendar

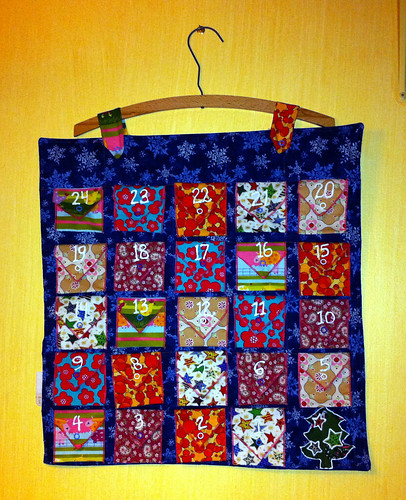
My daughter is really into countdowns for upcoming events. We often make them out of little scraps of paper, stapled together. But it occurred to me recently that an advent calendar would be a fun sewing project and the ultimate countdown. A countdown where every day you get to count down AND get a tiny present. Whoa.
So I dug out the fabric scrap bin and winged it. It actually came out pretty nice. It's a big square of a double layer of cotton, with polar fleece sandwiched in between. Then I made 24 little envelopes by pressing them into shape and roll-hemming the edges with my serger. I added snaps with my snap press (this was truly a project that was made 1000% times easier due to good equipment).

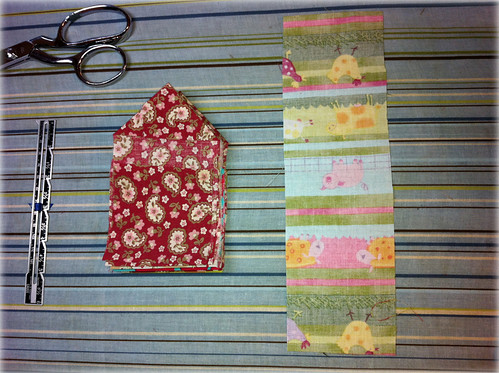
Making the advent calendar

I then sewed them on to the square with a straight stitch across (the stitch runs right over the crease of the flap). To number the envelopes, I used puffy paint (which someone remarked looks like cookie frosting! how Christmassy!). I guess advent calendars usually have the date on them, so they count up to 25, but I went with the countdown given my daughter's already-ingrained love of counting down. It hangs on the wall with a clothes hanger. Ta da!

Advent Calendar

Tuesday, November 9, 2010

Fairy Costume

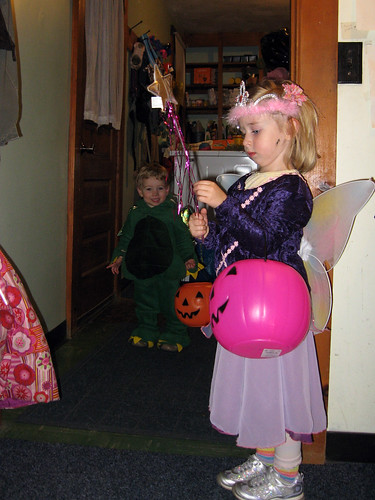
I made Alma's Halloween costume this year. It started out a fairy princess, but she declared it a Tinkerbell costume, so Tinkerbell it is.

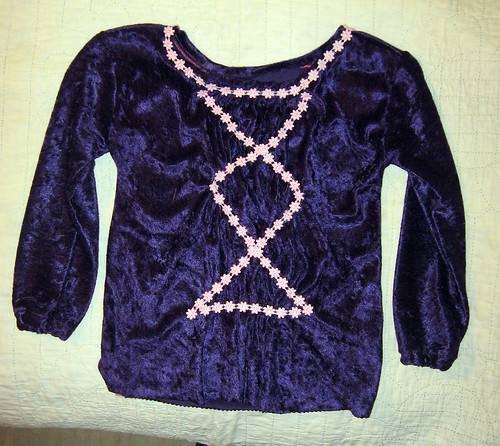
I started with Wee Wonderful's Fairy Dress-up tutorial, where I got the front of the shirt (gathers, trim, etc.) But since it's October in Massachusetts, I went with velvet and long sleeves (I used another knit shirt as a pattern for the sleeves).

Fairy Costume

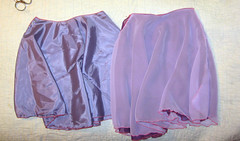
For the skirt, I had a lot of chiffon and other shimmery silky fabrics in the pile, so I cut out three circle skirts (two chiffon, one pants lining polyester) and a pile of petals for the waist. The shimmery petals looked great, but are really prone to unravel despite (or maybe due to?) the serger's rolled hem, so I don't know how long the petals will last. The waist is put together a little clumsily, as sewing all four layers together got tricky (and also: my sewing machine rebelled and I had to get out my old Singer. And spend about an hour searching for a bobbin for it). But there's elastic and snaps holding it together.

Fairy CostumeFairy Costume

I debated the waist area for a while. I didn't want to tuck the shirt in--I thought it might look sloppy given the crazy snap/elastic thing on the skirt. So I cut the shirt to drop to a point on the center-front and -back. And then sewed in more trim.

She had some butterfly wings already, but they were held on with white elastic, which would totally ruin the front gathered detail of the costume. So I put some snaps on the back of the shirt and added snaps to the wings, so they could attach to the shirt. This was a little sloppy, as I cut the shirt big enough to last her a year or two, and the wings then made the shirt slide down in back.

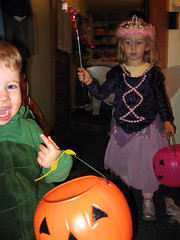
Anyway, she didn't mind at all. She was happy to wear pajamas underneath (it was a cold night). She wanted a ponytail, ala Tinkerbell, but when it came time to brush her hair into one, she opted for hair down. And she had a tiara and wand that of course had to be part of it. Voila!

Halloween
Halloween